
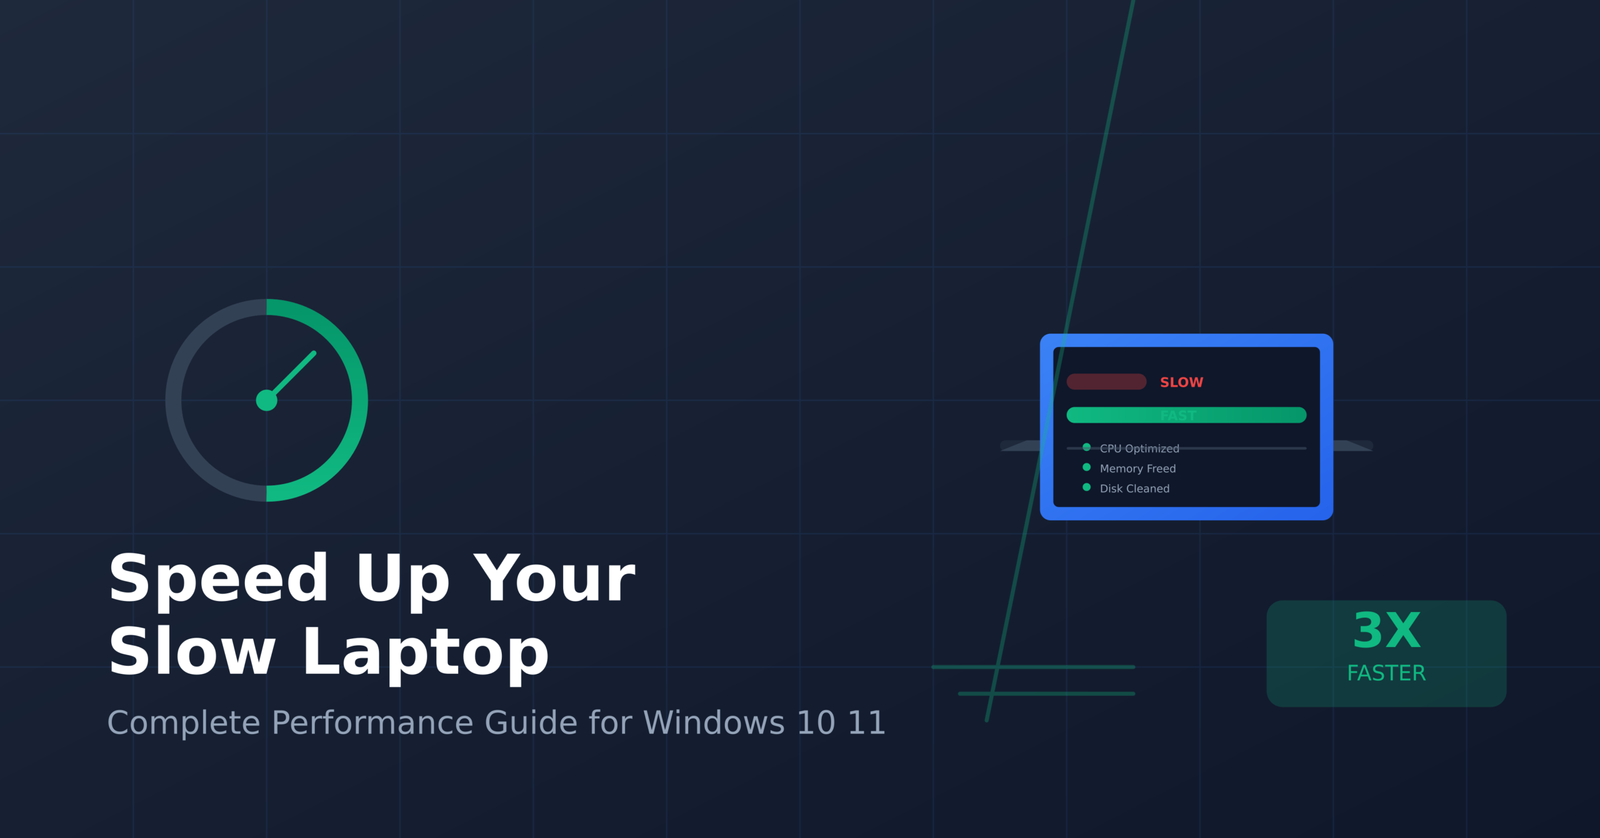
Here’s something that surprises a lot of people: computers don’t naturally slow down with age. What slows them down is accumulation. Startup programs you never approved. Temporary files that have been sitting there since 2022. A hard drive that’s 97% full. Background processes from apps you barely use, quietly consuming RAM 24 hours a day.
The good news is that most of this is fixable without spending a single cedi on new hardware. Some of it takes five minutes. Some of it takes longer. But if your Windows laptop or PC has become genuinely painful to use, work through this guide in order and you’ll almost certainly see a real difference.
Start Here — Three Things That Take Five Minutes Each
1. Restart It. Properly.
Not sleep. Not hibernate. A full restart — Start → Power → Restart.
A proper restart clears temporary files, closes memory leaks from long-running processes, and resets system resources. If you leave your computer running for days or weeks at a time, this single action can recover a surprising amount of performance. Make it a habit: restart at least once a week, or any time the machine feels sluggish.
2. Kill Everything You Don’t Need Right Now
Right-click the taskbar → Task Manager → Processes tab. Sort by CPU or Memory (click the column header). You’ll likely see several things consuming resources you didn’t know were running — cloud sync clients, update daemons, communications apps, browser extensions.
Close anything you’re not actively using. You can always reopen it later. If you see something consuming a lot of resources and you don’t know what it is, search for the process name — Windows will usually tell you which application it belongs to.
3. Disable Startup Programs
This is the fix that has the largest visible impact for most people. Many applications configure themselves to launch automatically when Windows starts — your machine boots, and twenty things start loading in the background before you’ve opened a single window.
Press Ctrl+Shift+Esc → Startup tab. You’ll see every program that launches at boot, with an impact rating (High / Medium / Low). Disable everything you don’t need immediately when you sit down to work. You can always open these applications manually. Focus especially on anything rated High impact that you use infrequently.
For most people, cutting startup programs in half will make a noticeable difference to boot time alone.
Clean Up Your Drive
Disk Cleanup
Type Disk Cleanup in the Start menu search bar and run it on your C: drive. Check the boxes for: Temporary files, Downloads (review first), Recycle Bin, and Previous Windows installations. Click Clean up system files for additional options — this often surfaces several gigabytes of recoverable space. Windows needs at least 10–15% of your system drive free to operate well. Below that, things slow down significantly.
Storage Sense (Windows 10 and 11)
Settings → System → Storage → Storage Sense. Turn it on and configure it to automatically remove temporary files and empty the Recycle Bin on a schedule. This is the set-it-and-forget-it version of disk cleanup — running in the background so your drive doesn’t gradually fill up again.
Uninstall What You Don’t Use
Settings → Apps → Installed apps (Windows 11) or Apps & features (Windows 10). Scroll through the full list honestly. If you haven’t used something in six months, uninstall it. Pay particular attention to manufacturer bloatware — pre-installed software that shipped with your computer and serves no purpose in your daily workflow. This frees up both storage and background processes.
Intermediate Fixes — Worth the Extra Time
Defragment Your Hard Drive (HDD Only — Never SSDs)
If your laptop or PC uses a traditional spinning hard drive (HDD), fragmentation builds up over time as files are written and deleted. Fragmentation forces the drive head to physically move across multiple locations to read a single file, which takes time.
Search for Defragment and Optimize Drives in the Start menu. Select your drive and click Optimize. This can take anywhere from a few minutes to a few hours depending on the size and fragmentation level.
⚠ If you have a Solid State Drive (SSD), do NOT defragment it. SSDs work differently, and defragmentation will degrade their lifespan. Windows recognises SSDs automatically and runs TRIM instead, which is the correct optimization method.
Reduce Visual Effects
Windows runs a lot of visual animation — window transitions, shadows, transparency effects — that looks polished but costs processing power. On older machines, turning these off can make the interface feel noticeably snappier.
Right-click This PC → Properties → Advanced system settings → Performance Settings. Select Adjust for best performance to disable everything, or choose Custom and keep only the effects that matter to you. On a machine with limited RAM or an older processor, this is worth doing.
Check for Malware
Malicious software running in the background can devastate performance while doing other, worse things to your system. Windows Defender (built into Windows 10 and 11 as Windows Security) is solid. Open it, go to Virus & threat protection, and run a full scan. This will take a while — 45 minutes to over an hour — but do it properly rather than just a quick scan.
For a second opinion, Malwarebytes Free is worth running alongside Windows Defender. It catches different categories of threats and the free version is sufficient for a periodic check.
Update Your Drivers
Outdated graphics, chipset, and storage drivers cause compatibility issues that can manifest as slowness, crashes, and instability. Settings → Update & Security → Windows Update — install everything, including optional driver updates.
For your graphics card specifically, go directly to the manufacturer’s website: NVIDIA, AMD, or Intel. Driver updates from manufacturers often arrive there weeks before they appear in Windows Update, and GPU driver quality has a direct impact on how smoothly your system runs overall.
Adjust Virtual Memory
If you regularly see “low memory” warnings or notice the machine slowing dramatically when several applications are open simultaneously, increasing your virtual memory can help. This uses hard drive space as overflow RAM when physical RAM fills up — it’s slower than real RAM, but better than running out.
Right-click This PC → Properties → Advanced system settings → Performance Settings → Advanced tab → Virtual Memory → Change. Uncheck Automatically manage, select Custom size. Set Initial size to 1.5× your RAM in MB, and Maximum size to 3× your RAM. With 8GB of RAM: Initial = 12288, Maximum = 24576.
Hardware: When Software Can Only Do So Much
Upgrade to an SSD — This Is the Single Biggest Performance Gain Available
If your laptop or PC is still running on a traditional hard drive, no amount of software optimization will make it feel fast. The mechanical physics of a spinning disk simply cannot compete with solid-state storage.
An SSD reduces boot time from minutes to under 30 seconds. It makes every application launch near-instantly. It makes the entire system feel like a different machine. Even a mid-range budget SSD delivers a transformation compared to any HDD.
Many laptops allow straightforward SSD installation, and cloning software (like Macrium Reflect, which has a free version) can copy your existing Windows installation to the new drive. If you’re not comfortable doing this yourself, any computer repair shop can do it in under an hour. The cost of the drive plus installation is almost always less than buying a new machine.
Add More RAM
Open Task Manager during normal use and check the Memory tab. If you’re consistently above 80% RAM usage while doing typical work — browsing with a few tabs, a document open, music playing — more RAM would make a real difference. For Windows 10, 8GB is a working minimum. For Windows 11 and any serious multitasking, 16GB is the comfortable target.
Before purchasing RAM, look up your specific laptop or desktop model to confirm: the maximum RAM it supports, how many slots are available, and what type and speed of RAM is compatible. Many laptops have limited or no RAM upgradability — check this before spending money.
Clean the Physical Machine
Dust accumulation inside your computer blocks airflow. When components overheat, they throttle themselves — deliberately running slower to avoid damage. If your laptop or PC is two or more years old and has never been cleaned, thermal throttling may be limiting your performance right now.
For desktops: power off, open the case, and use a can of compressed air to clear dust from fans, heatsinks, and vents. For laptops: focus on the exhaust vents and intake grilles. If you hear the fan running constantly at high speed, or if the machine is hot to the touch during light use, this is likely the cause.
Keeping It Fast — The Maintenance Mindset
Optimization isn’t a one-time fix. The slowdown will return if the habits don’t change. The maintenance routine that prevents it from getting bad again:
- Restart at least once a week.
- Run Disk Cleanup or check Storage Sense monthly.
- Review and update drivers quarterly.
- Run a full malware scan quarterly.
- Be deliberate about what you install. Every new application is a potential startup program, a background process, and a storage consumer. If you don’t genuinely need it, don’t install it.
When It’s Time to Stop Fixing and Start Replacing
If you’ve worked through this entire guide and your machine still feels unacceptably slow, the honest answer may be that the hardware is simply too old for what you’re asking it to do. A CPU from 2014, 4GB of RAM, and a spinning hard drive running Windows 11 is going to struggle regardless of how well-optimised the software is.
The rough indicator: if your machine is more than seven years old, if it cannot accept an SSD upgrade, and if RAM is either soldered or at maximum capacity — the total cost of improvements may approach or exceed what a new entry-level laptop would cost. At that point, replacement is the more rational investment.
But for most machines that are simply cluttered and neglected rather than genuinely obsolete, the steps above will get you back to a machine that works properly. Start at the top, work your way down, and stop when it feels fast again.